This article provides you with steps to setup your Online Store with Website Builder.
Step 1 - Login to Website Builder
- Please see our guide here on how to login to Website Builder from your Customer Zone.
Step 2 - Click on Login again on the start page.

Step 3 - Click on Site Editor then Store

Step 4 - Configure Store Setup
- The first time you visit the store page it will show you the Store setup window to guide you through the setup process

Step 5 - Configure Basic Information
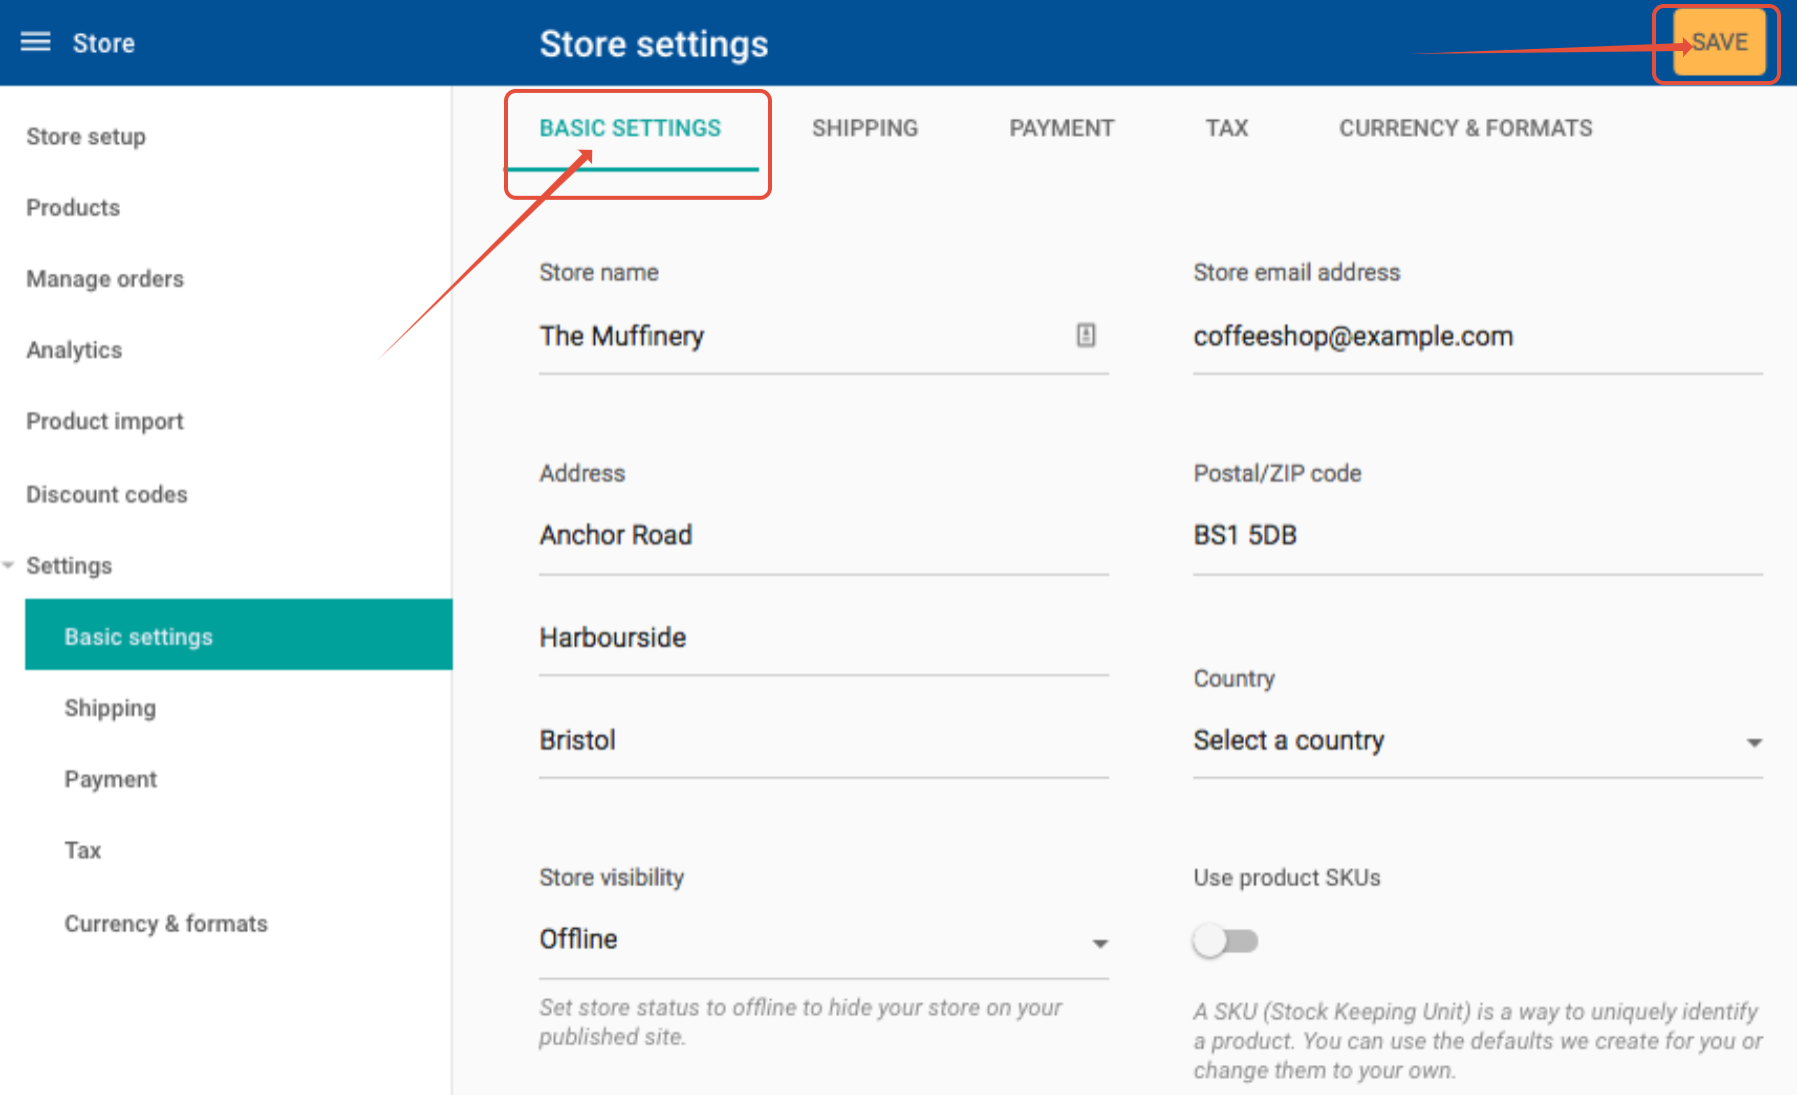
Basic information
- Click Basic Settings
- This will take you to a page where you can add essential information about your store and you will need to make sure this is as complete as possible.
- Once you have filled in the relevant fields click the Save button to return to the setup process
Step 6 - Add Payment Method
Add a payment method
- Click Payment
- On this page you will notice a list of third-party payment gateway that you can use.
- Pick a method that is appropriate for your business and follow the instructions provided.
- After you have successfully configured the payment gateway, you will be redirected to the setup process

Step 7 - Add Shipping Options
Add a shipping option
- Before you can send products to customers you will need to specify one or more shipping options
- On the store page, click the Shipping tab and then add a shipping options
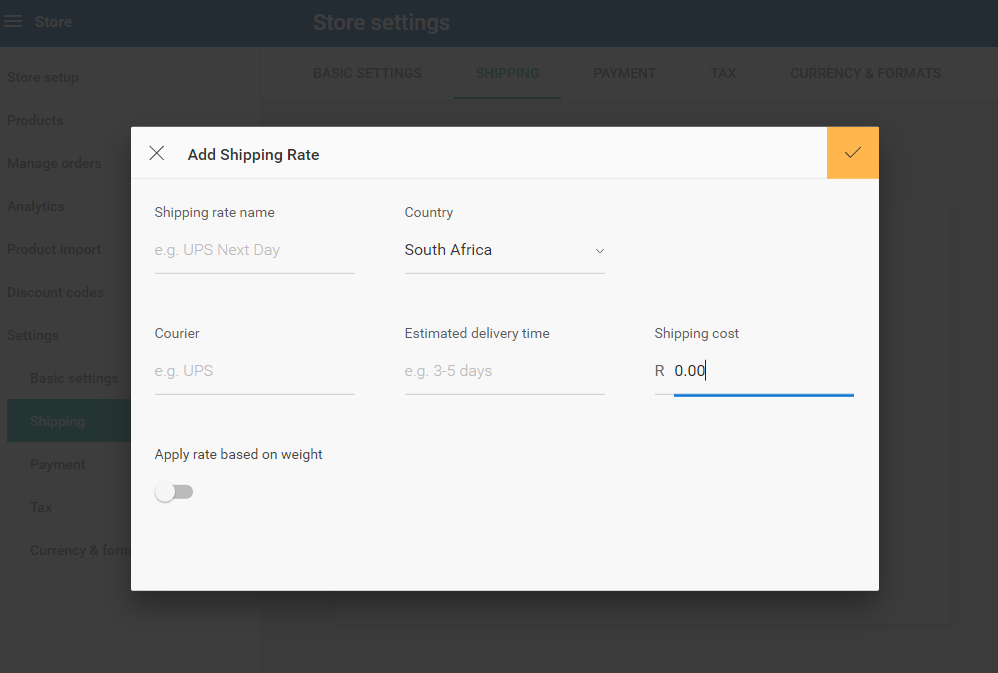
Shipping options explained
Shipping rate name - The name you provide here will be seen by customers using your website during the checkout process
Destination country - The country which this shipping method applies to
Courier - The name of the courier you will be using to send goods
Estimated delivery time - The amount of time it will take for the goods to reach the customer
Shipping cost - The amount to charge the customer for using this shipping method. Set to 0 if this shipping method is free
Apply rate based on weight - Enabling this option will allow you to charge shipping for an item that is within a specified weight range
Step 8 - Add your products
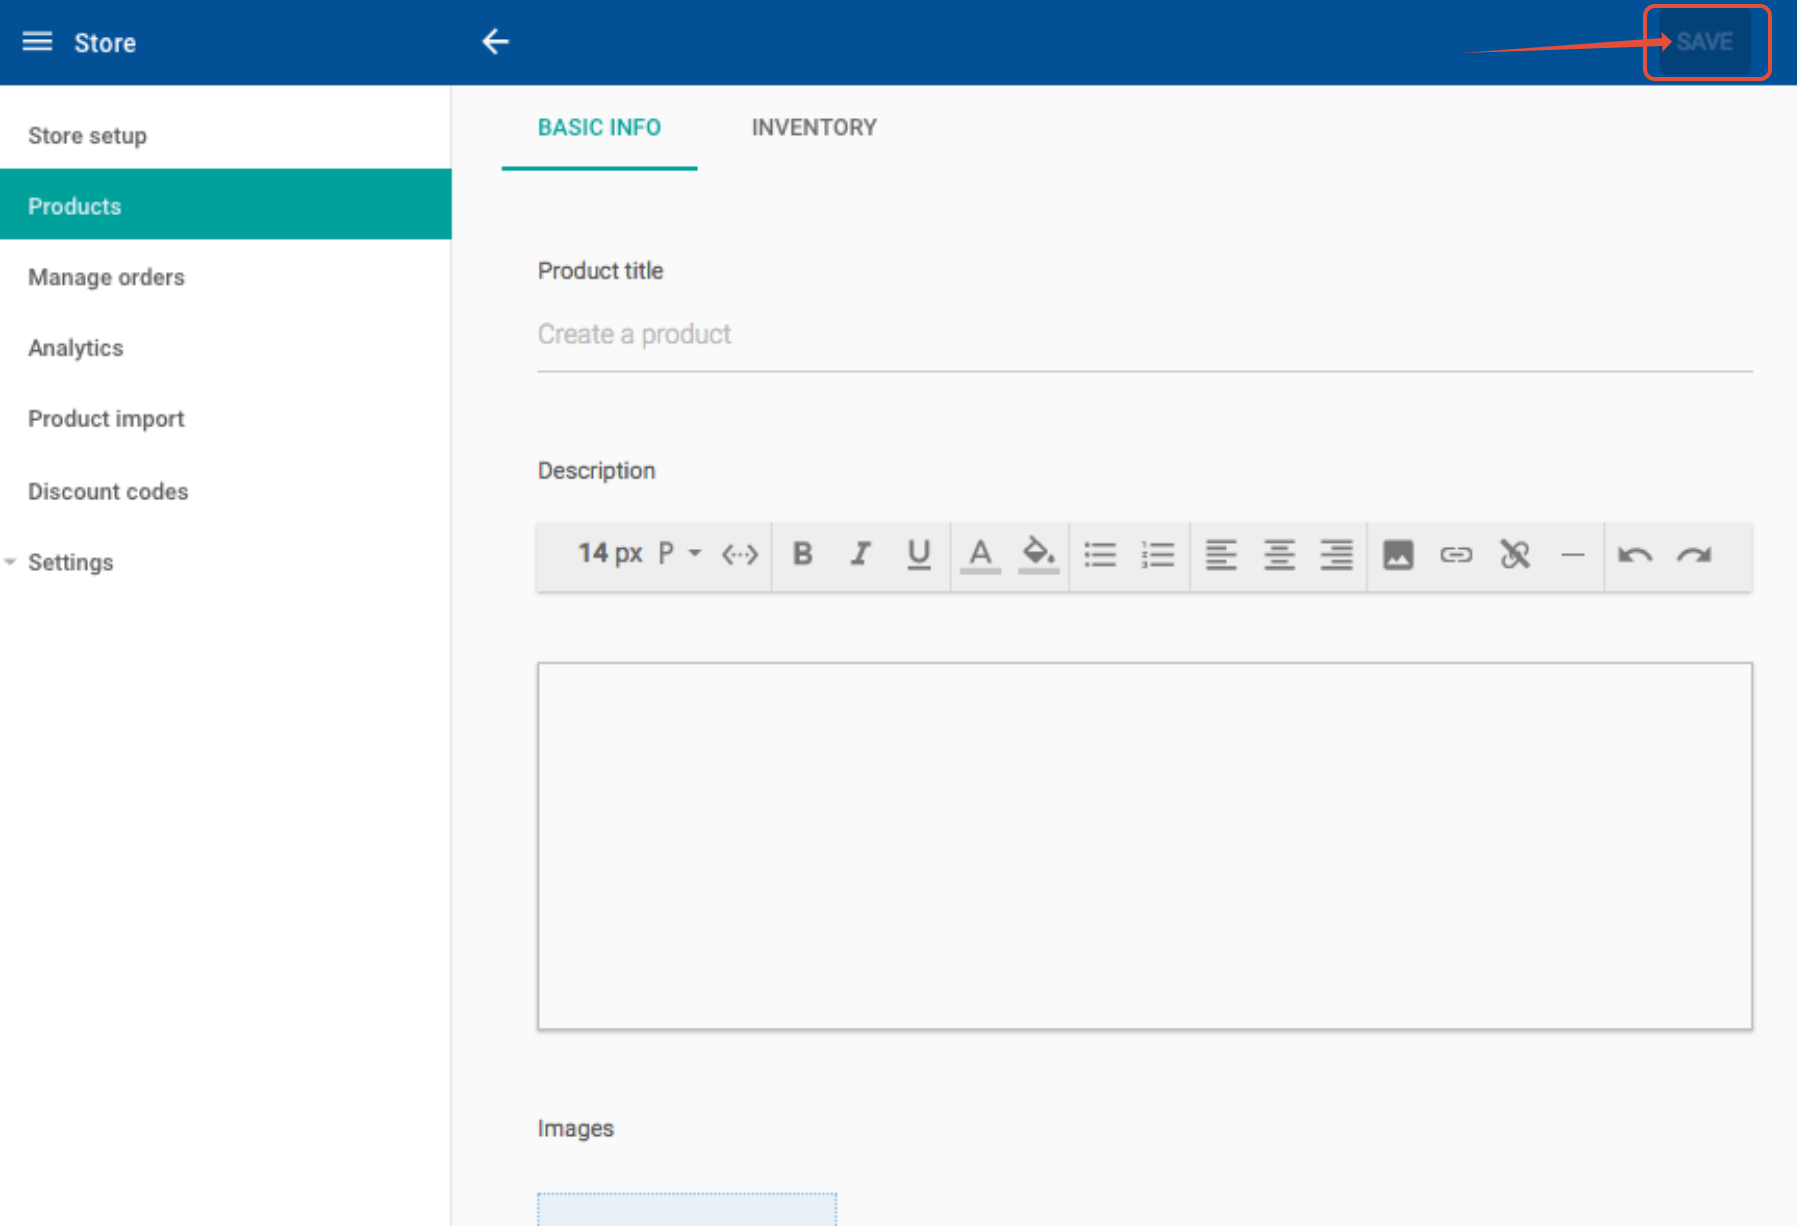
Add your first product
- Click the Products option from the store setup checklist.
- Once you have added your product click the Save button and return to the Store setup option from the left-hand menu.
Step 9 - Publish your online Store
Publishing your store
- By default, your store will be in offline mode until you choose to publish it.
- To do this, click the Publish store button from the Store setup checklist.
- Once completed, your store will be online and visitors will be able to order products.
