All-in-One WP Migration plugin exports your current WordPress website into a backup — an archive file with the .wpress extension, which then you can import in any WordPress site.
The plugin is a convenient solution for keeping regular backups of your website(s) for many purposes or just transfer website from one domain to another.
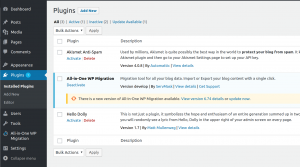
All-in-One WP Migration appears on your WordPress dashboard left panel when successfully installed, as well as in the list of plugins:
This tutorial contains details about:
- All-in-One WP Migration Backups Page
- Export Using All-in-One WP Migration tool
- Import Using All-in-One WP Migration tool
1. All-in-One WP Migration Backups Page
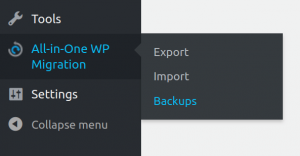
Backups page is accessible through the Backups option in the plugin menu:
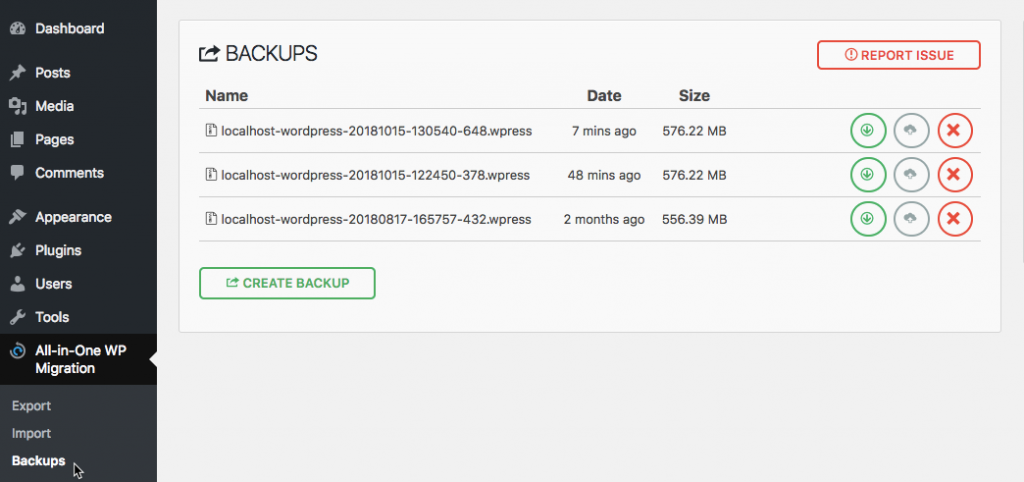
Backups page shows the content of ‘ai1wm-backups’ folder in ‘/wordpress/wp-content/ai1wm-backups’. All-in-One WP Migration tool automatically creates the folder after installation. If the plugin does not have sufficient permissions to create it, it will output this notice to the screen:
“All-in-One WP Migration is not able to create [your-path-to-wordpress/wordpress/wp-content/ai1wm-backups] folder. You will need to create this folder and grant it read/write/execute permissions (0777) for the All in One WP Migration plugin to function properly.”
This means that you will need to create the folder manually and provide (0777) permissions for it by yourself.
‘ai1wm-backups’ keeps backups on your server/local space. The files have extension ‘.wpress’.
Your latest backup will be at the top of the list as the creation time places the order of backups. Names will be generated using the logic “[your-wordpress-site-name]-YearMonthDate-HourMinuteSecond” at the moment of the backup creation.
Creating a backup and keeping it inside this folder initializes when choosing option ‘File’ from the Export menu, described in Step 2 of this guide. You can also copy and paste backups inside ‘ai1wm-backups’ folder via a local file manager or FTP/SFTP application. This page will then also list it. Please note that if you put files with extensions besides ‘.wpress’, they will not appear on the list.
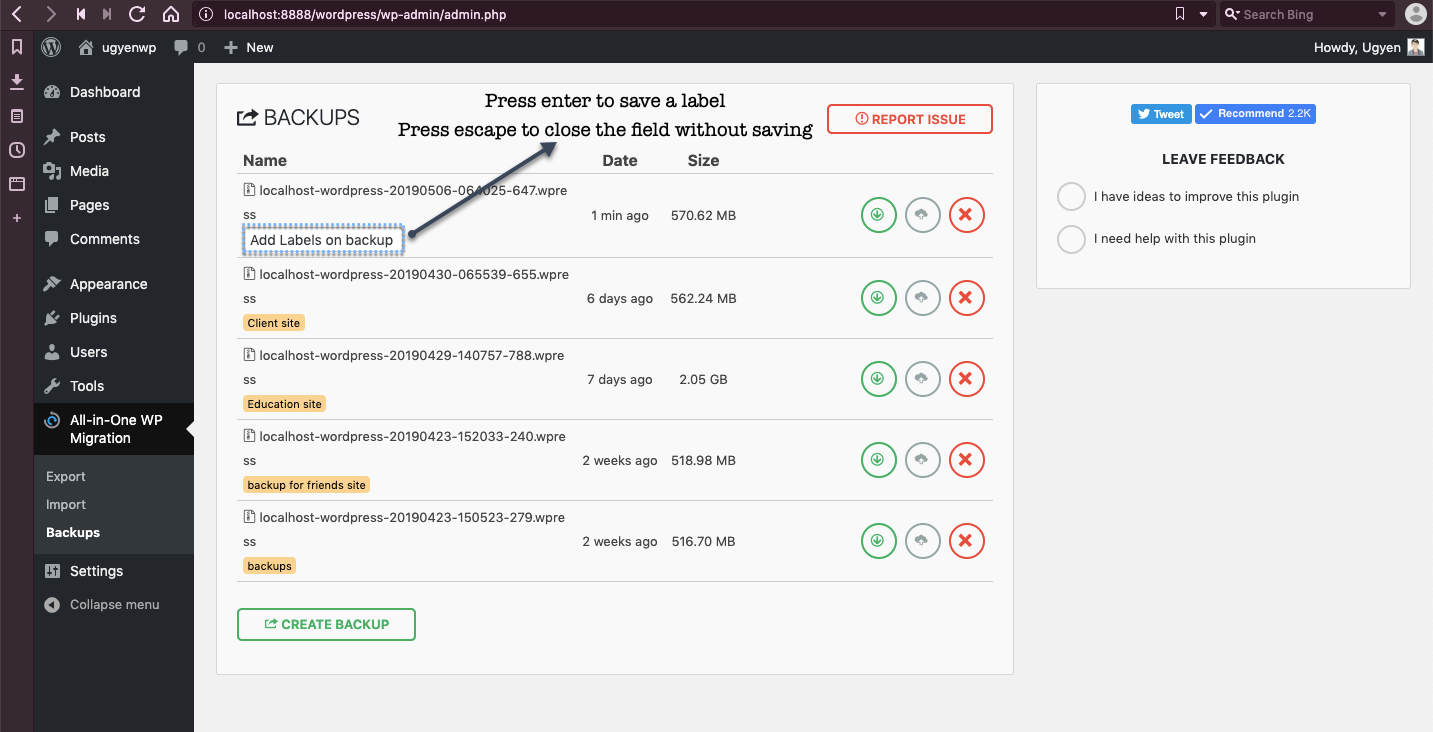
How to label backups:
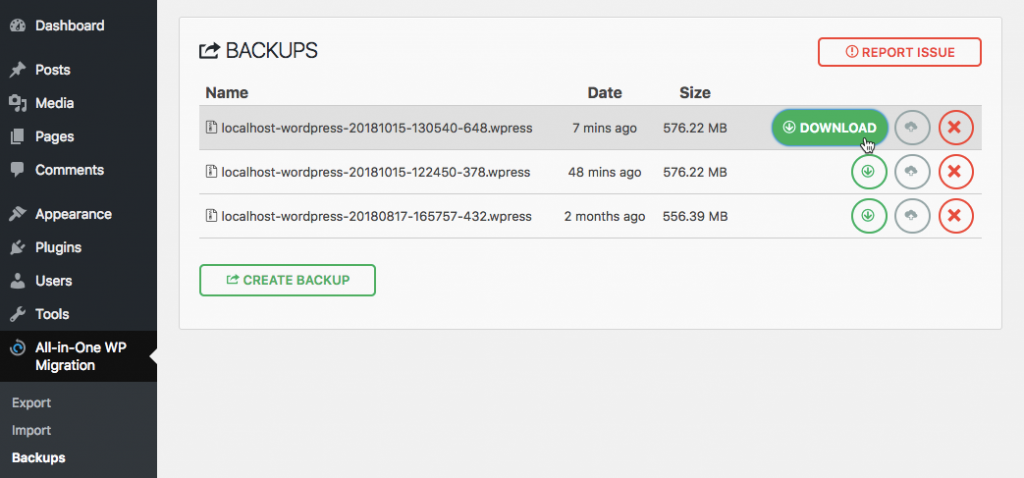
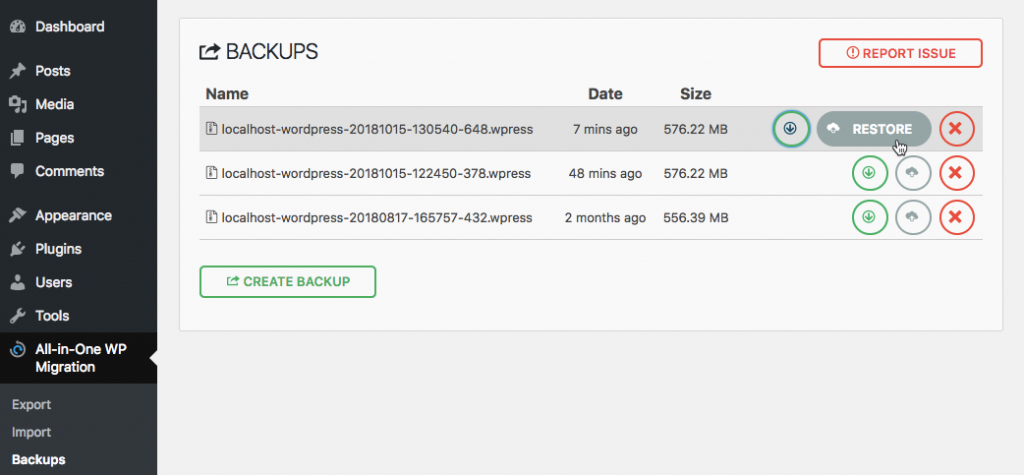
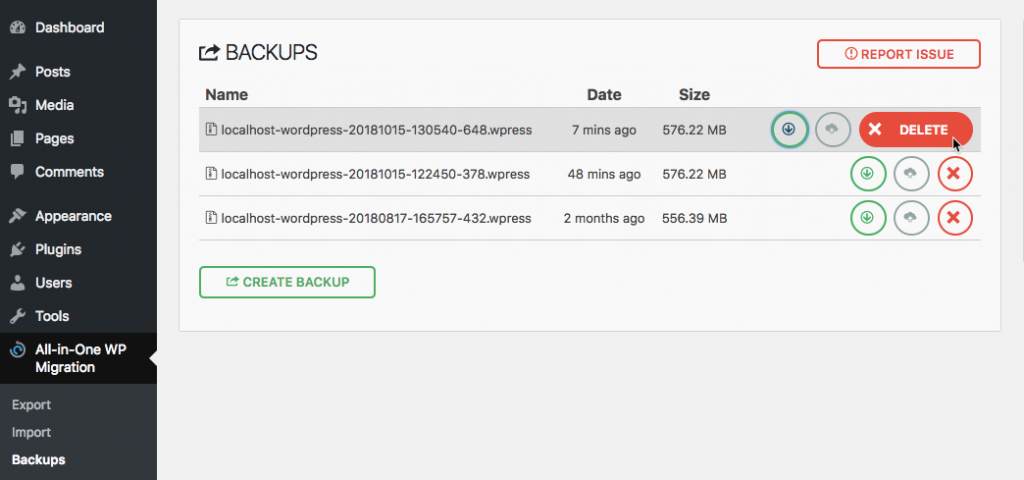
For each of the files on Backups page, you have three available options: Download, Restore, and Delete:
Option “Download” allows you to download the selected backup to your computer. If you use localhost, the file will save to your downloads directory.
Option “Restore” will start the process of importing the selected backup into your current WordPress site:
Option “Delete” will delete the selected backup from the ‘ai1wm-backups’ folder:
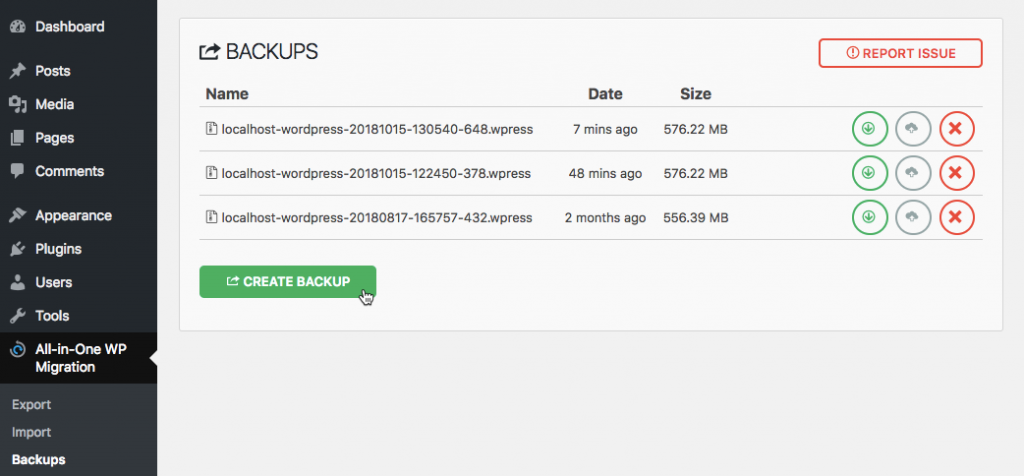
On the bottom of the backups list, you will see a button “Create Backup”:
This button provides quick access to export functionality and will take you to the Export page. Process is described in Step 2 of the present guide.
2. Export Using All-in-One WP Migration
2.1 Export Additional Settings
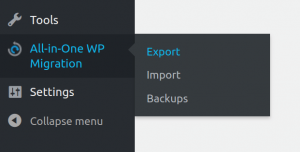
To use the export functionality and settings, navigate to the Export page via the all-in-One WP Migration dropdown menu:
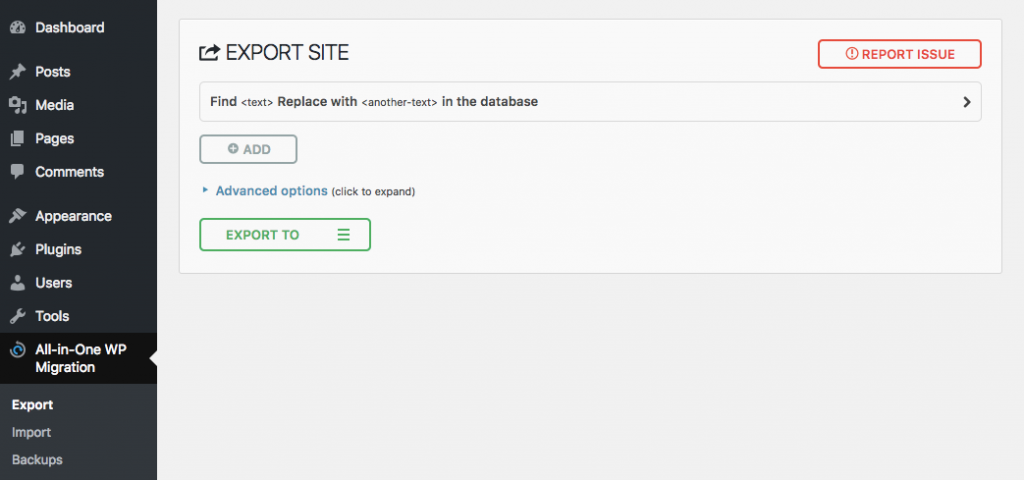
You can begin the export process on the Export page.
This page contains some additional settings that you can use before beginning the export process.
Find <text> Replace with <another-text> in the database
This option searches a website’s database for a text and replaces it with another in all places for as many pairs — find/replace — as you specify. Normal website migration does not recommend using this option because the plugin will handle renaming the site’s elements to the URL that you import to. Only people who understand WordPress database’s structure should use this advanced feature. Please keep in mind that this change may affect your user access details to the site — be cautious of what you replace.
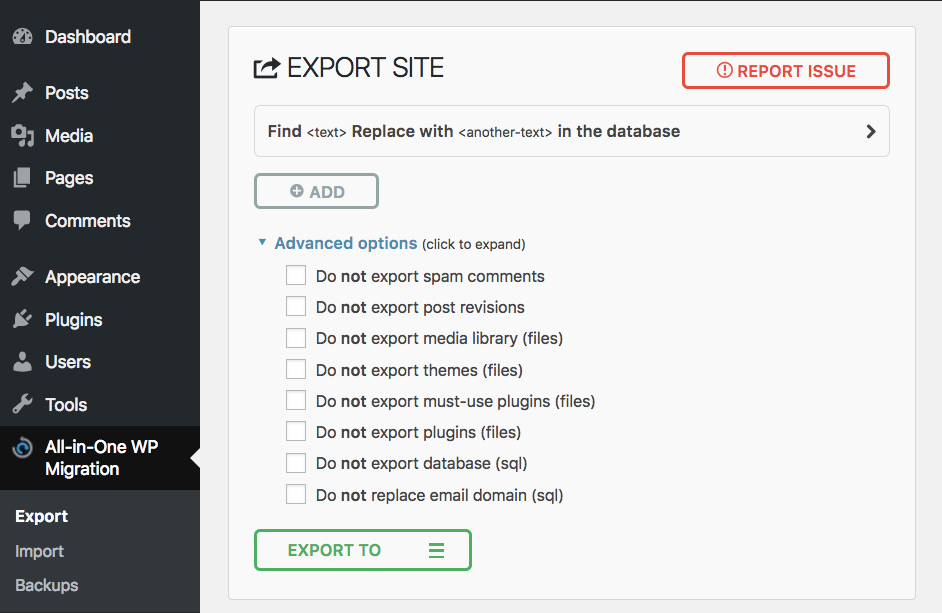
You can also find some additional options for excluding certain data from your backup under the advanced options menu:
The below options should not impact the success of your migration:
– Do not export spam comments
– Do not export post revisions
– Do not export inactive themes*
– Do not export inactive plugins*
– Do not export Cache*
*Available with premium extensions only. Not seen on the free community version.
The below options will lead to an incomplete migration:
– Do not export media library (appropriate to use if you want to troubleshoot the backup but you will have no images etc. in the export)
– Do not export themes (use to troubleshoot if your theme is preventing a backup or restore)
– Do not export must-use plugins (use if you are having issues or moving hosting)
– Do not export plugins (use to troubleshoot issues or exclude all plugins)
– Do not export database (this means that your site backup will not contain any posts, pages, media, or content from the one you are exporting from – use for troubleshooting only)
– Do not use it to replace email domain. You can use this option if you use an email on your site that relates to your site URL and DO NOT want that e-mail to be changed (e.g. mysite.com and your email is myname@mysite.com). This will not change if you use your domain email to log in.
2.2 Export Process
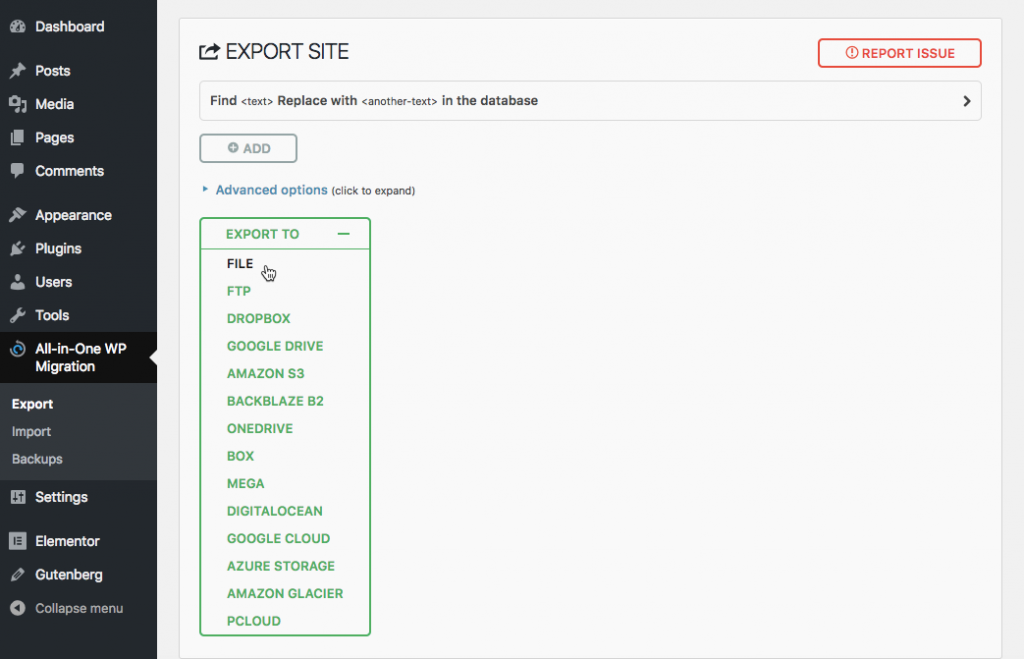
Once you’ve chosen Export from the above options, you can create an archive by selecting the following option from the dropdown menu:
All options available from the dropdown menu, except “File” can be used with a combination of All-in-One WP Migration plugin with a corresponding extension installed.
If you chose option “File” the plugin will create a backup of your website inside ‘ai1wm-backups’ folder: ‘/wordpress/wp-content/ai1wm-backups’. The plugin uses this folder to store all backups created with the “File” option and its contents are available on “Backups” page. Backup names generate by using the logic “[your-wordpress-site-name]-YearMonthDate-HourMinuteSecond” at the moment of their creation.
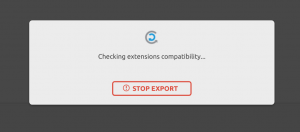
When you select one of the options from the Export dropdown menu, the export process begins, and you will see the following window:
The export process takes time depending on the size of your website data.
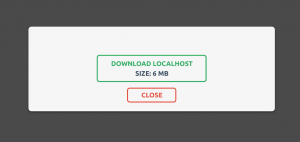
You should see this message after your export is created and uploaded to your server:
The backups are now available in your Backups folder. The Download button on this window allows you to save the backup to your PC.
3. Import Using All-in-One WP Migration
*If you are importing a website on a new server, please refer to Step 3.3 of the present guide first.
3.1 Import Process
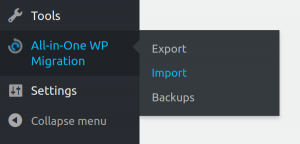
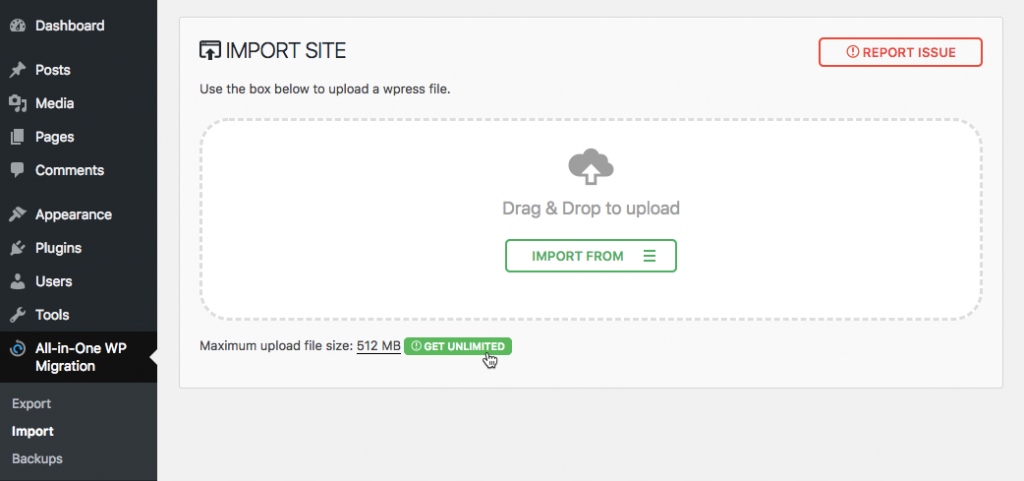
To use the import functionality, navigate to the Import page from the all-in-One WP Migration dropdown menu:
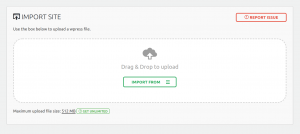
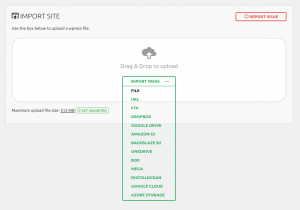
When you select an option, the application takes you to the Import page:
Using the dropdown menu on this screen, you can select where you want to import a backup:
All options available from the dropdown menu, except “File” should be used with a combination of All-in-One WP Migration plugin with a corresponding extension installed.
If you select “File,” the plugin will open a window displaying your local files and directories and allowing you to select a backup to import from there. This option is very useful if you have a backup that is not in Backups and you need it imported as quickly as possible.
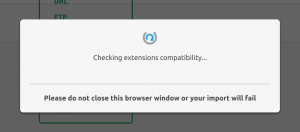
Selecting a backup to restore initiates the import process:
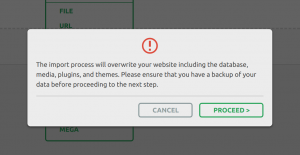
The import process includes an additional phase that alerts you that the new backup will overwrite your website’s database, media, plugins, and themes. This is the final stage in the procedure, and you can cancel it at any time. After clicking “Proceed,” you will be unable to halt the import process. The duration of the import procedure is determined by the size of your website’s data.
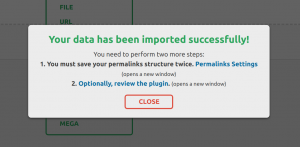
When finished, a successful import will show the following message:
It is suggested at this point to click on the Permalinks Settings page and save your permalinks twice in order to save them and produce the .htaccess file.
3.2 Backup size
It is worth noting that the free community product — All-in-One WP Migration — supports import for backups less than 512 MB. This message appears on the Import page and includes a link to the All-in-One WP Migration Unlimited Extension. It enhances the plugin’s functionality by allowing it to import larger backups:
After you’ve migrated your site, you’ll need to log in with the username and password from the imported site. The previous site’s users and passwords have been moved to the new site, therefore you must use these credentials.
