Setting up your VPN connection using the VPN platform - Windows 10
Modified on: Tue, 21 Jun, 2022 at 1:44 PM
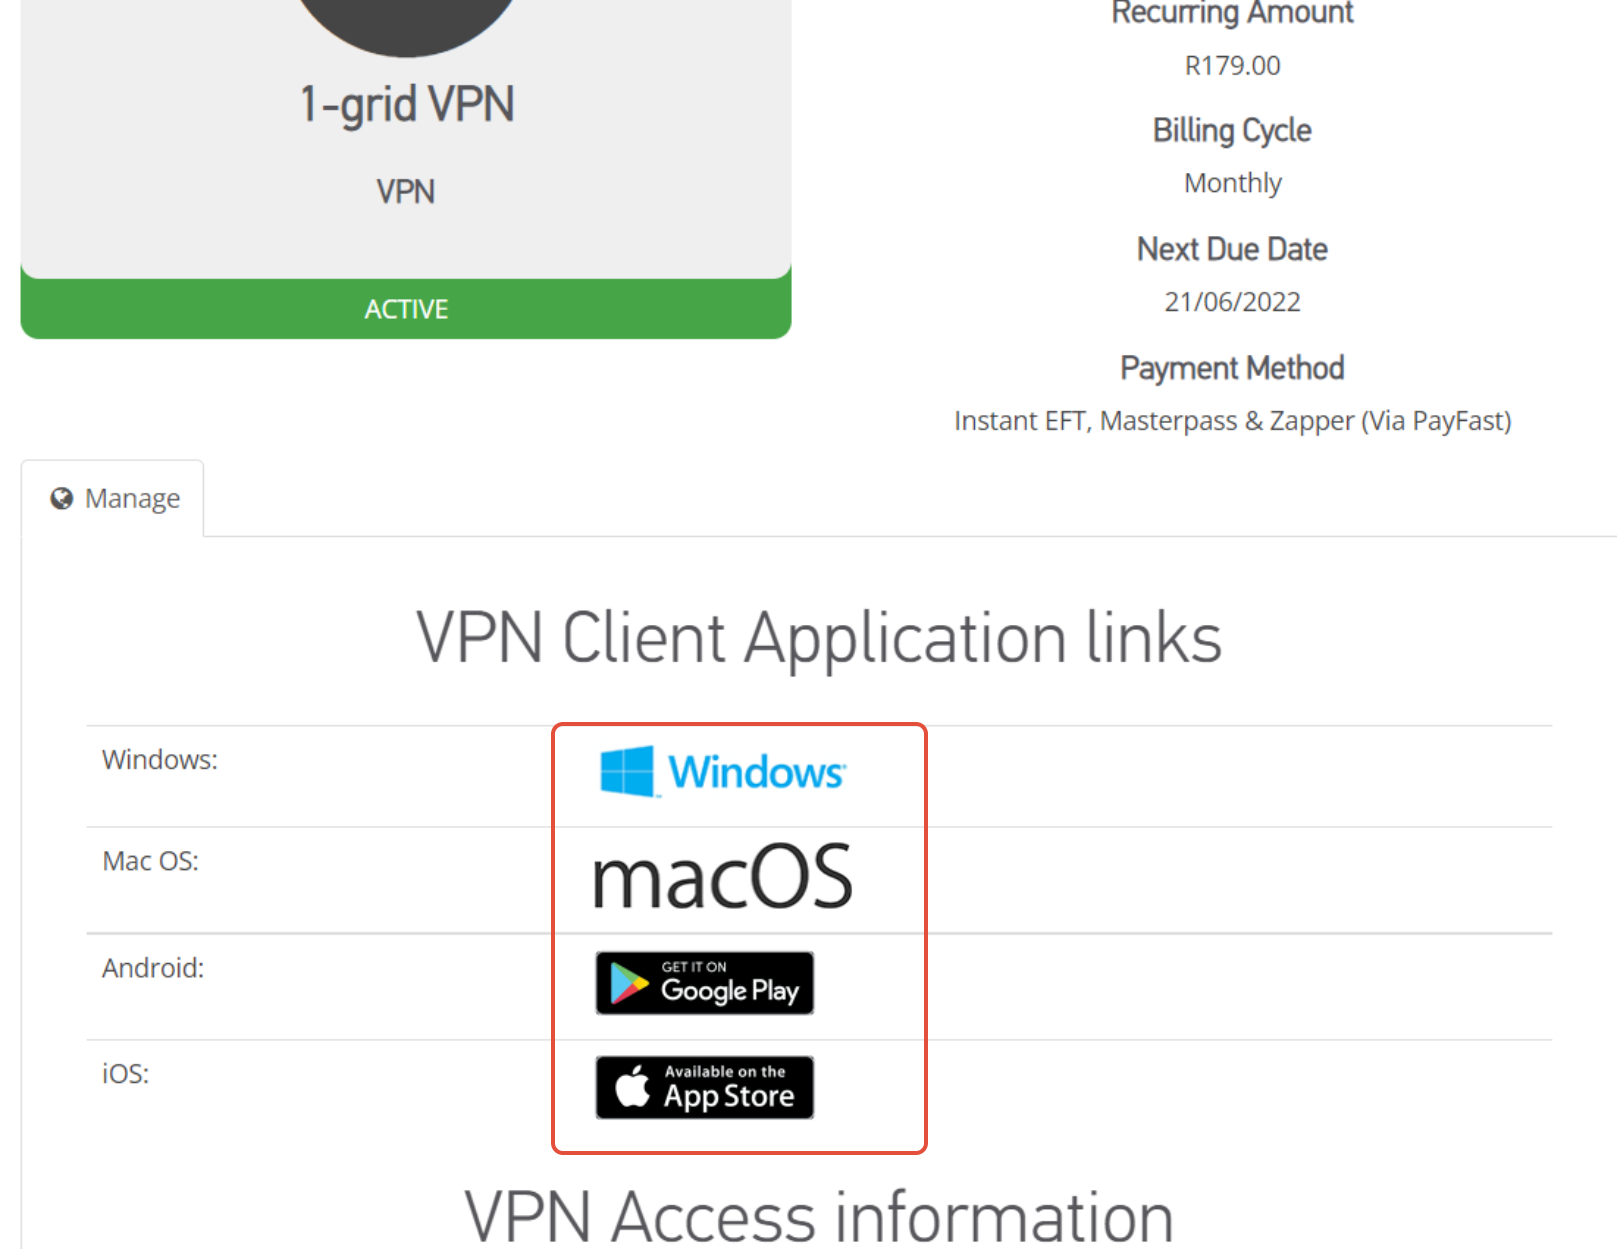
- You can download and install the software on this link or by logging into the customer zone section under services > Myservices > manage product. You can then select which operating system you would like to install it for

- Open the file to install the program. The installation requires Administrative rights to complete installation, enter your administrative credentials if requested to do so.
- A User Account Control popup will appear to confirm the installation, click ‘yes’ to confirm.
- Follow the prompts and click ‘next’ until you are asked to choose install location and click ’install’.
- On the final page of the installment process, untick the checkbox labeled ‘Readme’ if you don’t wish to read all the documentation.
- To complete the installation process click ‘finish’.
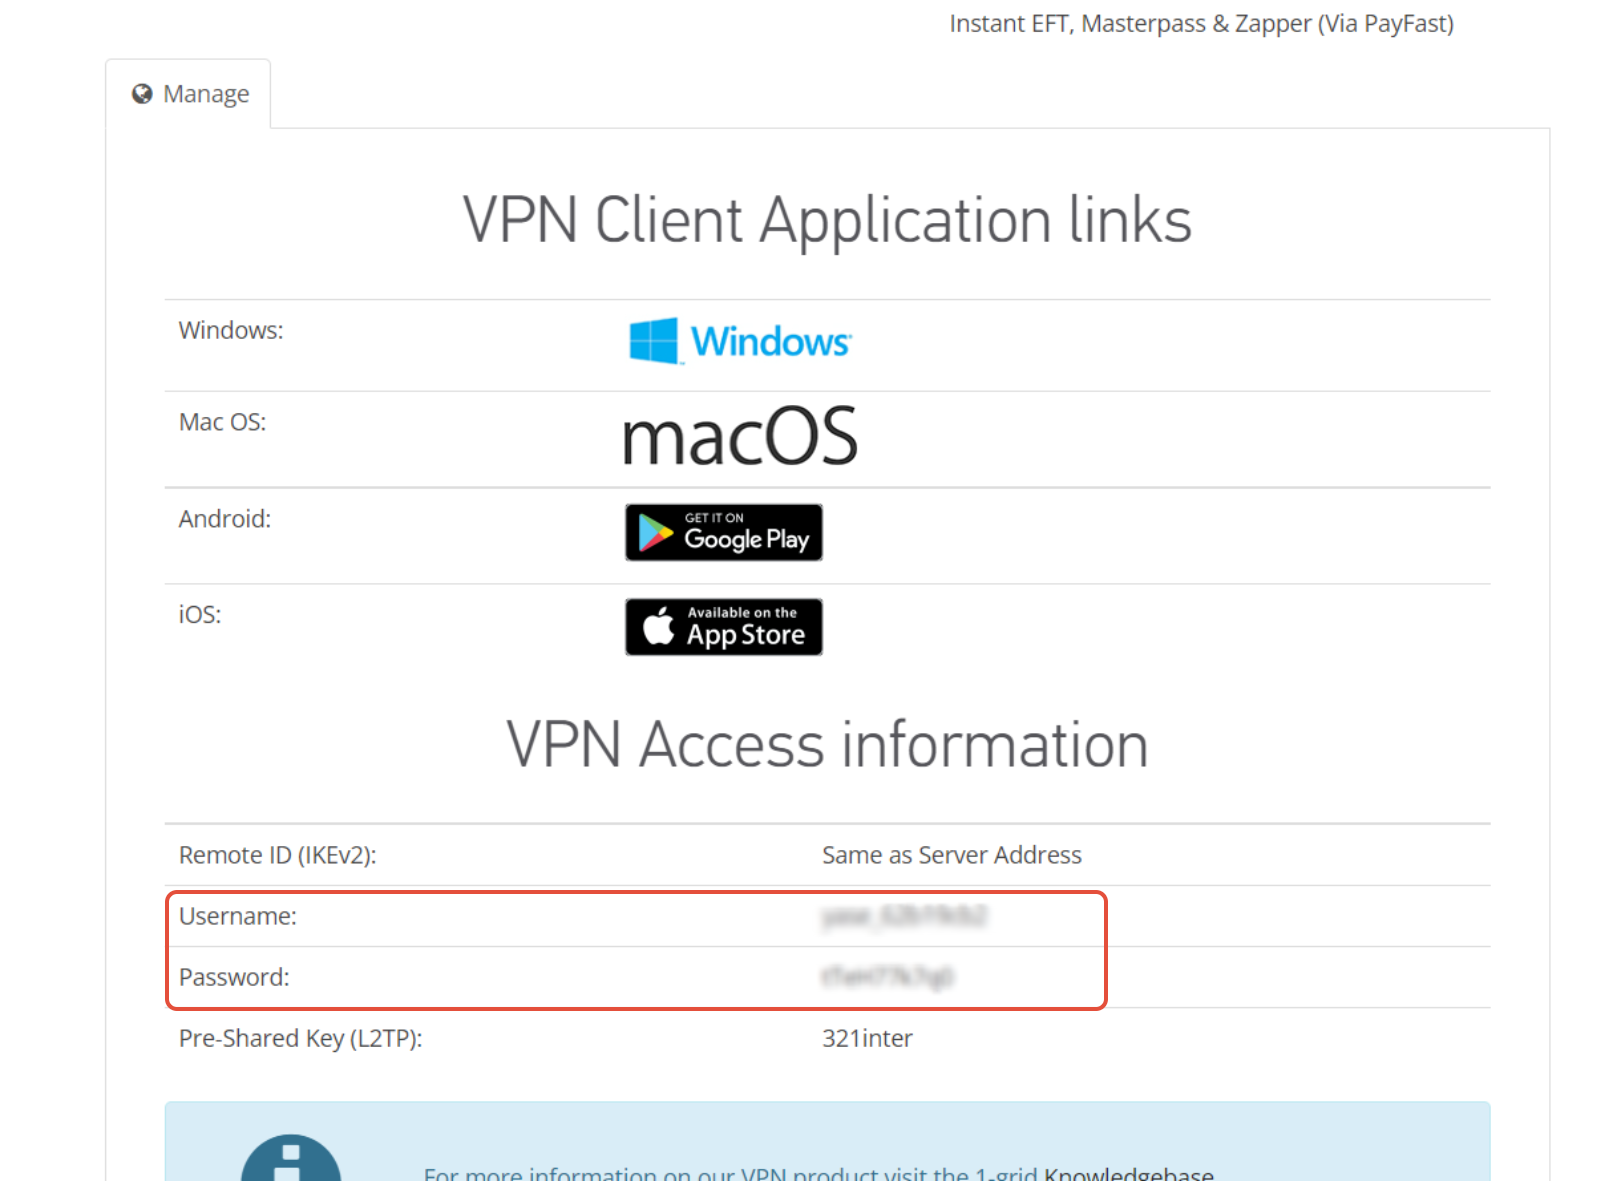
- You will be able to find your username and password for your VPN in your Customer zone section by clicking on services> myservices> click on manage product

- You will then see your username and password

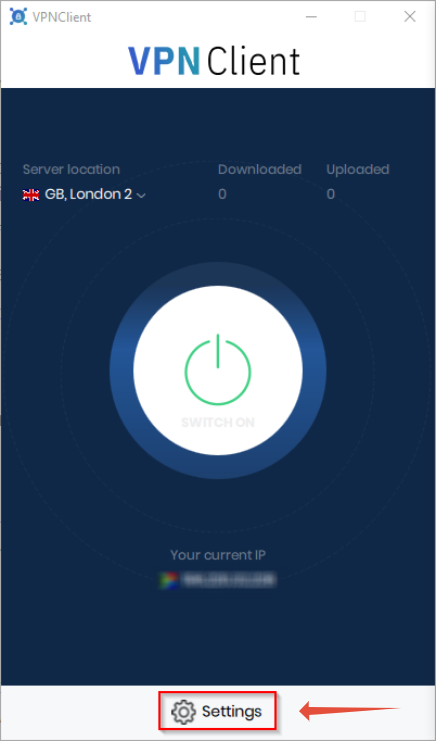
- Once completed, open the application and click on settings

- Submit your username and password to connect

For the updated version of this article please see: Setting up your VPN connection using the VPN platform - Windows 10
Should you still experience issues after using this guide please contact our Support Center by clicking here.
Did you find it helpful?
Yes
No
Send feedback Sorry we couldn't be helpful. Help us improve this article with your feedback.


